10 Ways to Decorate Your Easter Eggs
10 Ways to Decorate Your Easter Eggs
Decorating Easter eggs can be a delightful and engaging activity for families and friends. In this article, we will explore ten creative ways to decorate your Easter eggs, making them beautiful and unique for the holiday. Whether you’re looking for traditional designs or innovative ideas, this guide provides various options to suit all tastes.
Why You’ll Love This Guide
This guide offers simple yet effective techniques to enhance your Easter egg decorating experience. From natural dyes to intricate designs, these methods will spark your creativity and bring joy to your celebrations.
How to Make Decorative Easter Eggs
Ingredients:
- White eggs (hard-boiled)
- Natural dyes (onion skins, beet juice, turmeric, etc.)
- Permanent markers or crayons
- Adhesive glue
- Decorative items (glitters, stickers, ribbons)
- Paintbrushes and paint (optional)
- Washi tape
Step-by-Step Instructions:
- Prep Your Eggs: Start by hard-boiling the white eggs. Once cooked, let them cool completely.
- Create Natural Dyes: For natural dyes, boil water with vegetables or spices of your choice. For example, use onion skins for a warm hue, beet juice for pink, and turmeric for yellow.
- Soak the Eggs: Place the cooled eggs in the dye and let them soak for at least 30 minutes. The longer they soak, the richer the color will be.
- Draw and Design: Use permanent markers or crayons to draw designs on your eggs. You can create patterns, faces, or anything your imagination suggests.
- Add Textures: Attach decorative items like glitter or washi tape to give your eggs a 3D effect. Be sure to use adhesive glue to secure items in place.
- Paint Your Eggs: For those who enjoy painting, use a paintbrush and acrylic paint to add designs. Make sure to let each layer dry before adding more.
- Finish and Display: Once your eggs are decorated, let them dry fully. Display them in a basket or as a centerpiece for your Easter table.
How to Serve Decorative Easter Eggs
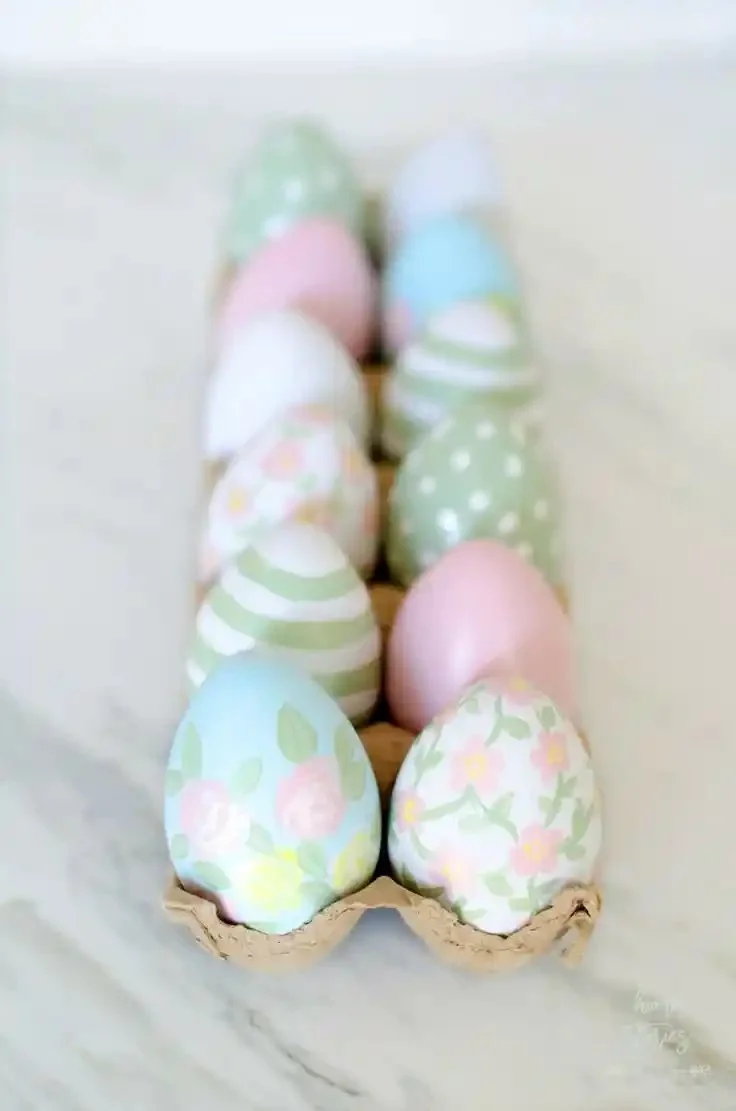
Serving your decorated Easter eggs can be as fun as decorating them. Arrange your colorful creations in a decorative basket or place them in an egg holder for an eye-catching presentation.
How to Store Decorative Easter Eggs
To store your beautifully decorated Easter eggs, keep them in a cool, dry place. If you used natural dyes, it’s best to store them in the refrigerator. They should be consumed within a week for optimal freshness.
Tips to Make Decorative Easter Eggs Perfect
- Use Fresh Eggs: Fresh eggs are easier to work with and result in better designs.
- Test Dyes: Always test your dyes on a spare egg before committing.
- Be Creative: Don’t stick to just one design; mix and match techniques for more diversity.
- Work in Layers: If painting, allow each layer to dry before adding details to avoid smudging.
Flavor Variations
If you want to expand your decorating options, try using edible garnishes like herbs or colorful spices in your dye mixtures. This can add a pleasant aroma and an interesting twist to your decor.
Pro Tips for Success
- Plan Your Design: Sketch your designs on paper to visualize what you want on each egg.
- Be Patient: Let all components dry completely before moving your eggs to avoid smearing or damage.
- Get the Kids Involved: Include children in the decorating process for a fun family bonding activity.
FAQs About Decorative Easter Eggs
1. How long do naturally dyed eggs last?
Naturally dyed eggs can last up to one week in the refrigerator when kept in a cool environment. After this time, it’s advisable to consume them to ensure freshness.
2. Can I use food coloring instead of natural dyes?
Yes, food coloring is an excellent alternative to natural dyes. Just mix it with water and vinegar and soak the eggs as you would with natural dyes.
3. Is it safe to consume decorated eggs?
As long as you use non-toxic materials for decoration and keep the eggs refrigerated, they are safe to eat. Avoid using decorations that aren’t food-safe.
Final Thoughts
Decorating Easter eggs is a cherished tradition that brings joy and creativity to the holiday. With these ten methods, you can create stunning designs that celebrate the spirit of Easter. Whether you’re gathering with family or hosting friends, these beautiful eggs will surely make your celebrations more memorable. Get started, and enjoy the process of creating your unique Easter egg masterpieces!

Decorative Easter Eggs
Ingredients
Method
- Start by hard-boiling the white eggs. Once cooked, let them cool completely.
- For natural dyes, boil water with vegetables or spices of your choice.
- Place the cooled eggs in the dye and let them soak for at least 30 minutes.
- Use permanent markers or crayons to draw designs on your eggs.
- Attach decorative items like glitter or washi tape to give your eggs a 3D effect.
- For those who enjoy painting, use a paintbrush and acrylic paint to add designs.
- Once your eggs are decorated, let them dry fully.
- Arrange your colorful creations in a decorative basket or an egg holder for presentation.