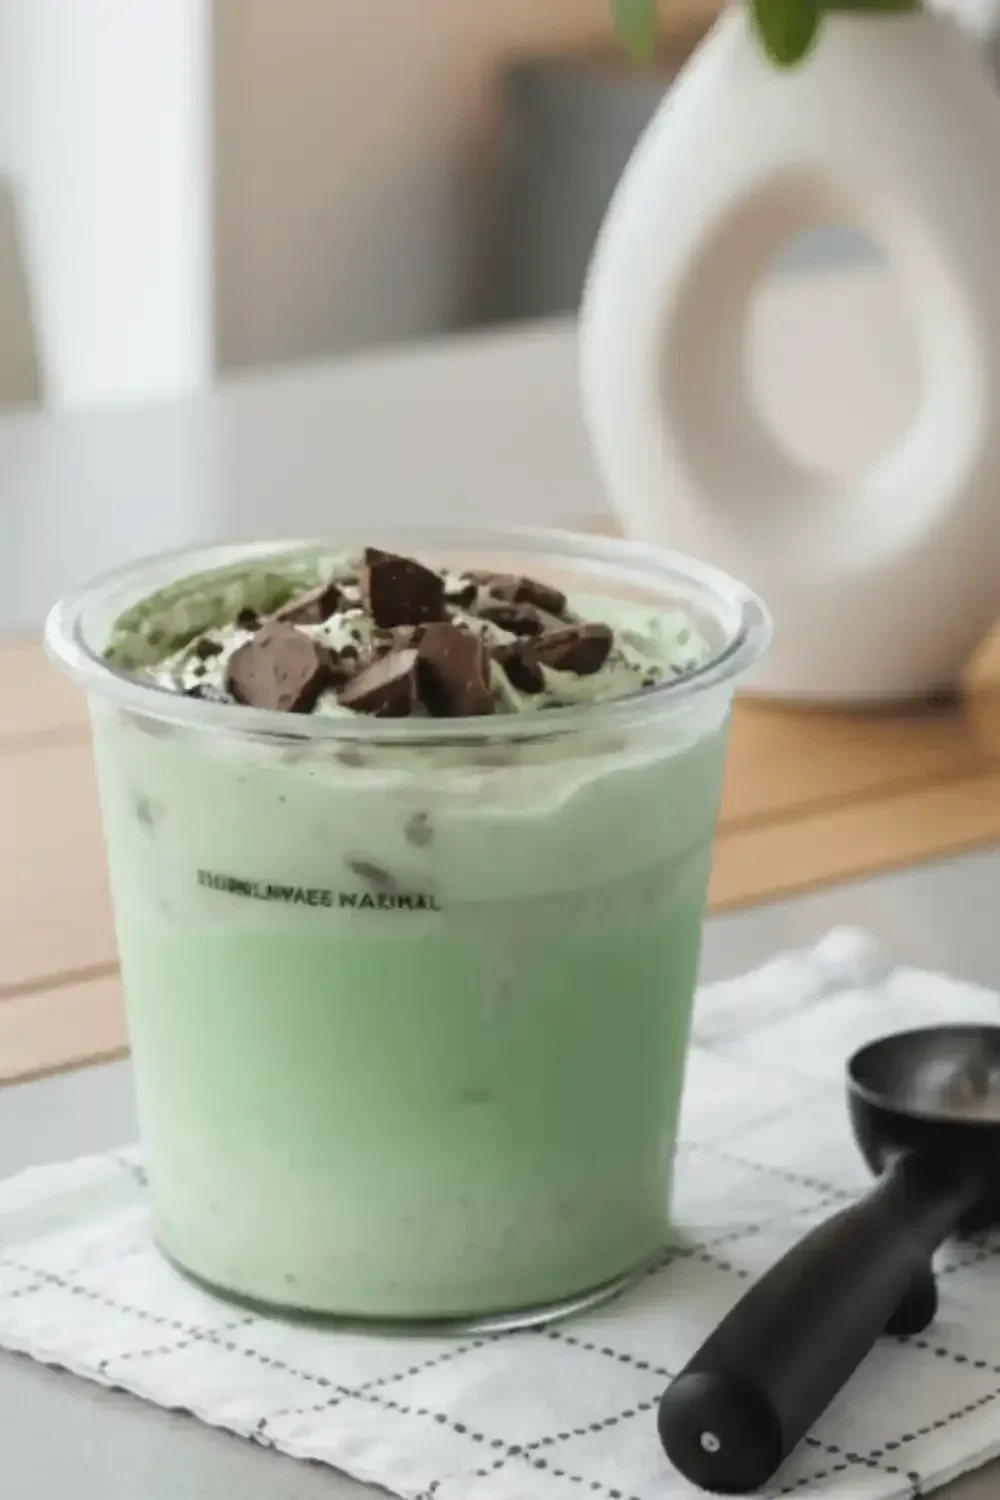
Ninja Creami Thin Mint ice cream
Creating ice cream at home can be a delicious way to indulge, especially when you can replicate the flavors of your favorite treats. If you’re a fan of Girl Scout cookies, you have to try this Ninja Creami Thin Mint ice cream. This delightful recipe captures the iconic mint chocolate flavor of Thin Mints, making it a creamy, refreshing dessert that will bring smiles to everyone.
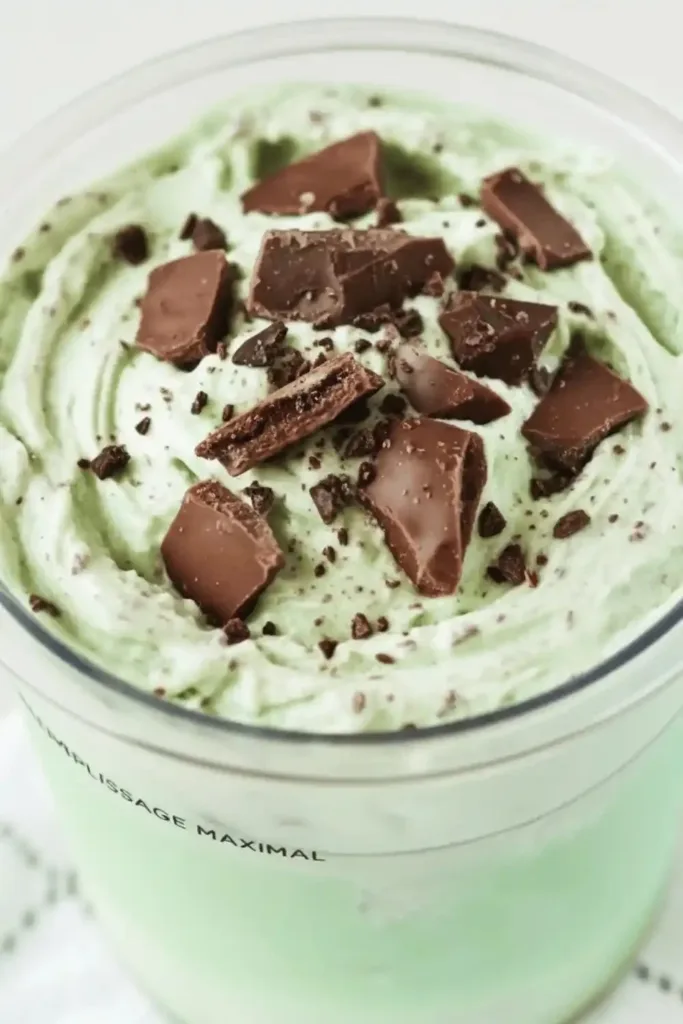
Ninja Creami Thin Mint Ice Cream
Ingredients
Method
- In a large mixing bowl, whisk together the heavy cream, whole milk, granulated sugar, vanilla extract, peppermint extract, and salt until the sugar is fully dissolved.
- Gently fold in the crushed Thin Mint cookies until evenly distributed throughout the mixture.
- Pour the mixture into your Ninja Creami pint container. Secure the lid and allow it to chill in the freezer for at least 24 hours or until the mixture is fully frozen.
- Once frozen, remove the pint from the freezer. Install it in your Ninja Creami machine and select the ‘Ice Cream’ setting. Let the machine process the mixture.
- Enjoy your Thin Mint ice cream immediately for a soft-serve texture. If you prefer a firmer ice cream, refreeze it for about an hour before serving.
Nutrition
Notes
Tried this recipe?
Let us know how it was!Why You’ll Love This Ninja Creami Thin Mint Ice Cream
This DIY ice cream is not only easy to make, but it also offers a cool minty experience reminiscent of your beloved Girl Scout cookies. The Ninja Creami machine transforms a simple mixture into soft-serve ice cream, resulting in a texture that’s rich and satisfying. Plus, it’s a fun activity to do with family or friends.

How to Make Ninja Creami Thin Mint Ice Cream
Ready to whip up a batch? This recipe is straightforward and uses readily available ingredients. Let’s dive into the deliciousness!
Ingredients:
- 2 cups heavy cream
- 1 cup whole milk
- 1/2 cup granulated sugar
- 1 teaspoon pure vanilla extract
- 1/2 teaspoon peppermint extract
- 1/2 cup crushed Thin Mint cookies
- A pinch of salt
Step-by-Step Instructions:
- Combine Ingredients: In a large mixing bowl, whisk together the heavy cream, whole milk, granulated sugar, vanilla extract, peppermint extract, and salt until the sugar is fully dissolved.
- Mix in Cookies: Gently fold in the crushed Thin Mint cookies until evenly distributed throughout the mixture.
- Chill: Pour the mixture into your Ninja Creami pint container. Secure the lid and allow it to chill in the freezer for at least 24 hours or until the mixture is fully frozen.
- Process in the Ninja Creami: Once frozen, remove the pint from the freezer. Install it in your Ninja Creami machine and select the “Ice Cream” setting. Let the machine work its magic.
- Serve Immediately or Refreeze: Enjoy your Thin Mint ice cream immediately for a soft-serve texture. If you prefer a firmer ice cream, refreeze it for about an hour before serving.
How to Serve Ninja Creami Thin Mint Ice Cream
Serve this delightful ice cream in bowls or cones. For an added touch, top it with whipped cream, extra crushed Thin Mints, or a drizzle of chocolate syrup. This ice cream is perfect for birthday parties, family gatherings, or a relaxing evening at home.
How to Store Ninja Creami Thin Mint Ice Cream
Store any leftover ice cream in an airtight container in the freezer. To maintain its soft-serve texture, allow it to sit at room temperature for a few minutes before scooping. Consume within two weeks for the best quality.
Tips to Make Ninja Creami Thin Mint Ice Cream Perfect
- Use Fresh Ingredients: Fresh heavy cream and milk lead to the creamiest texture.
- Chill Everything: Ensure the mixture is thoroughly chilled before freezing to achieve the best results in the Ninja Creami.
- Don’t Overprocess: Keep an eye on the machine while processing, as overprocessing can change the texture.
Flavor Variations
While Thin Mint is a classic flavor, you can easily customize this recipe. Here are a few variations to consider:
- Mint Chocolate Chip: Replace the Thin Mint cookies with chocolate chips for a mint chocolate chip version.
- Fudge Swirl: Add a swirl of chocolate fudge right before serving for an extra blast of chocolate.
- Peanut Butter Delight: Fold in some peanut butter for a delightful twist that enhances the flavor profile.
Pro Tips for Success
- Experiment with Extracts: Adjust the amount of peppermint extract according to your taste preference. Some may prefer a more potent mint flavor, while others might want something milder.
- Let it Rest: If you plan to serve the ice cream later, let it sit out for a bit before serving. It will make scooping easier.
- Cookie Size: Crush the Thin Mints into smaller pieces to ensure they spread evenly throughout the ice cream.
FAQs About Ninja Creami Thin Mint Ice Cream
Can I use a different type of cookie?
Yes! While Thin Mints give this ice cream its signature flavor, you can substitute them with other cookies such as Oreos or even homemade cookie crumbles. Just be mindful that it will change the overall flavor profile.
How long does it take to make?
The active time for this recipe is about 20 minutes. However, you need to freeze the mixture for at least 24 hours before processing it in the Ninja Creami. Plan ahead for the best results.
Can I make it dairy-free?
Absolutely! To make a dairy-free version, substitute the heavy cream and whole milk with coconut milk or almond milk. Ensure you choose dairy-free cookies for mixing in.
Final Thoughts
If you’re a fan of Girl Scout cookies, this Ninja Creami Thin Mint ice cream is a must-try. It’s an easy and enjoyable way to bring the flavor of Thin Mints into a creamy dessert that will delight everyone. With simple ingredients and straightforward steps, you can create a treat that rivals the original cookies, making every scoop a celebration. Get your Ninja Creami ready and start enjoying this amazing homemade ice cream today!